In this tutorial, we will implement Barcode/QR code scanner in Ionic 4 application. And trying to make a simple Barcode/QR code reader application using your own Ionic 4 app.
In this tutorial, we will implement Barcode/QR code scanner in Ionic 4 application. And trying to make a simple Barcode/QR code reader application using your own Ionic 4 app.
What is QR Code
QR code is a machine-readable code consisting of an array of black and white squares, typically used for storing URLs or other information for reading by the camera on a smartphone.
What is Barcode
Barcode is also a machine-readable code in the form of numbers and a pattern of parallel lines of varying widths, printed on a commodity and used especially for stock control.
Prerequisite
Before start, verify that you are running the latest version of node and npm by running node -v and npm -v in a terminal/console window. Older versions produce errors, but newer versions are fine.
Install Node.js and npm if they are not already on your machine. Find the full instruction from NodeJs Official website https://nodejs.org/en/ and Install Ionic and cordova from Ionic official website – https://ionicframework.com/docs/intro/installation/.
So let’s get started,
Install Ionic
Install the Ionic CLI globally with npm:
$ npm install -g ionicCreate Scanner App
From the command line, create a blank Ionic project just run the ionic start command and the CLI will handle the rest.
$ ionic start QRBarCodeScannerIonic blankRun The App
$ cd QRBarCodeScannerIonic
$ ionic serve
The app will be up and running on localhost port 8100.
Install Ionic native plugin
First, we need to install the necessary Ionic native plugin.
$ ionic cordova plugin add phonegap-plugin-barcodescanner
$ npm install @ionic-native/barcode-scanner
After installing the Ionic native plugin we should enlist the barcodescanner in main application module.
After injecting provider in the main app module look like this.
import { NgModule } from '@angular/core';
import { BrowserModule } from '@angular/platform-browser';
import { RouteReuseStrategy } from '@angular/router';

import { IonicModule, IonicRouteStrategy } from '@ionic/angular';
import { SplashScreen } from '@ionic-native/splash-screen/ngx';
import { StatusBar } from '@ionic-native/status-bar/ngx';

import { AppComponent } from './app.component';
import { AppRoutingModule } from './app-routing.module';
import { BarcodeScanner } from '@ionic-native/barcode-scanner/ngx';

@NgModule({
  declarations: [AppComponent],
  entryComponents: [],
  imports: [BrowserModule, IonicModule.forRoot(), AppRoutingModule],
  providers: [
    StatusBar,
    SplashScreen,
    BarcodeScanner,
    { provide: RouteReuseStrategy, useClass: IonicRouteStrategy }
  ],
  bootstrap: [AppComponent]
})
export class AppModule { }
Import modules in home.ts component file and inject it in the constructor. Here is the full implementation of home.ts file.
import { Component } from '@angular/core';
import { Platform } from '@ionic/angular';
import { BarcodeScanner, BarcodeScannerOptions } from "@ionic-native/barcode-scanner/ngx";
@Component({
selector: 'app-home',
templateUrl: 'home.page.html',
styleUrls: ['home.page.scss'],
})
export class HomePage {
barcodeScannerOptions: BarcodeScannerOptions;
constructor(
public platform: Platform,
private barcodeScanner: BarcodeScanner) {
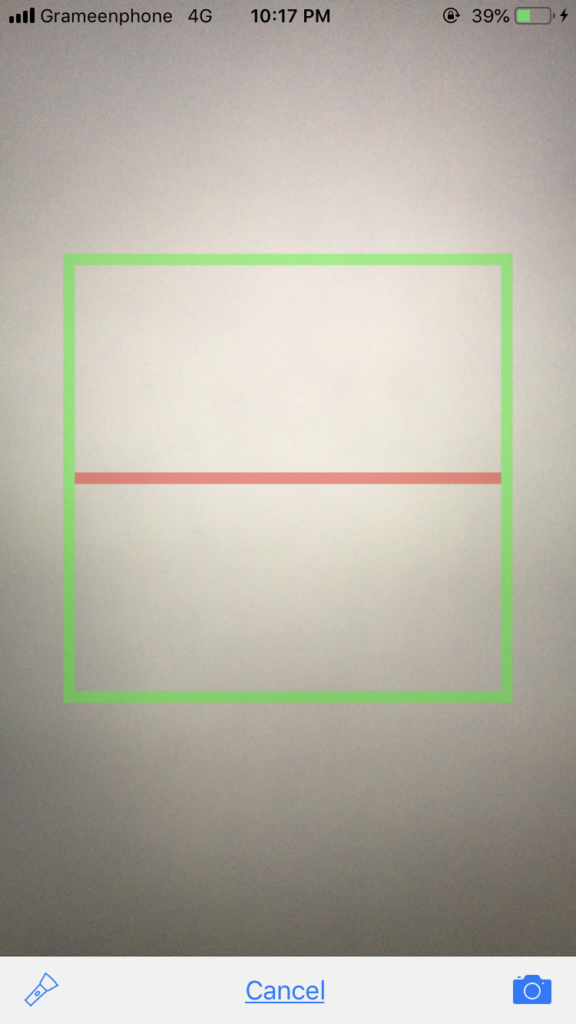
// Scanner Options
this.barcodeScannerOptions = {
showTorchButton: true,
showFlipCameraButton: true
}
}
// Initialize
ngOnInit() {
this.platform.ready().then(() => {
this.scan();
});
}
// Scanner method
async scan() {
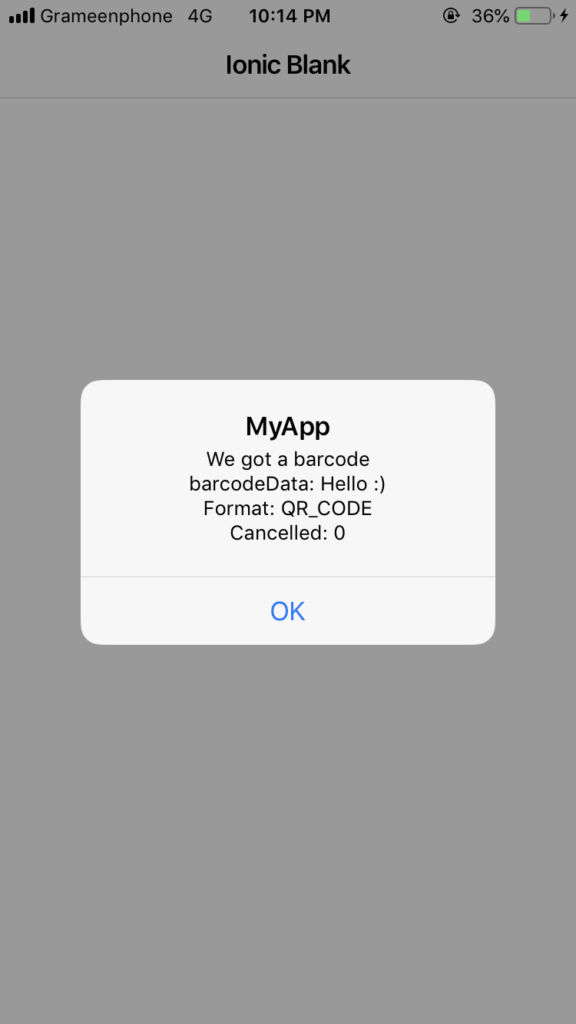
await this.barcodeScanner.scan(this.barcodeScannerOptions).then(barcodeData => {
console.log('Barcode data', barcodeData);
alert("We got a barcode\n" +
"barcodeData: " + barcodeData.text + "\n" +
"Format: " + barcodeData.format + "\n" +
"Cancelled: " + barcodeData.cancelled);
}).catch(err => {
console.log('Error', err);
});
}
}
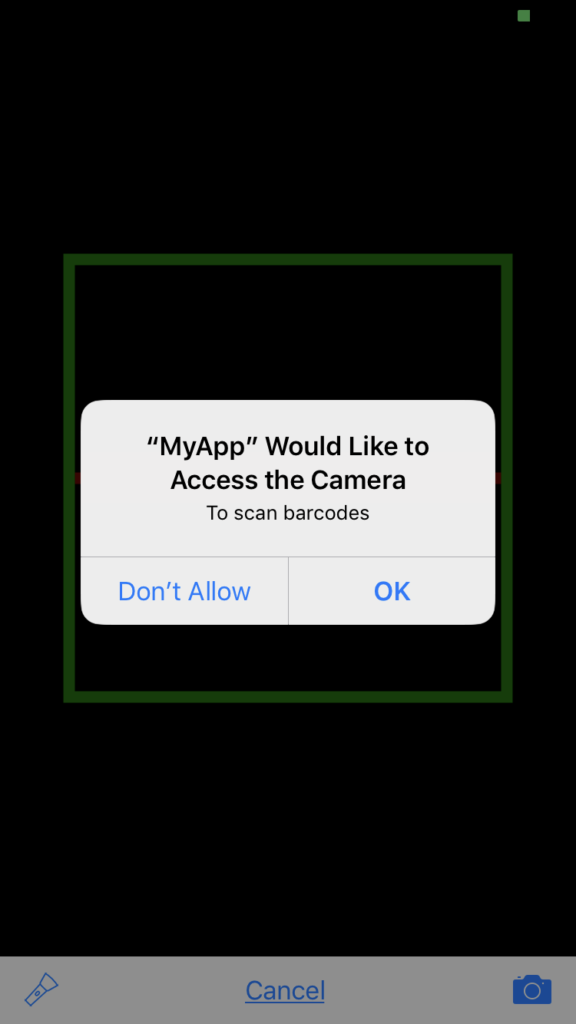
iOS quirks
Since iOS 10 it’s mandatory to add a NSCameraUsageDescription in the Info.plist.
To add this entry you can use the edit-config tag in the config.xml like this:
<edit-config target="NSCameraUsageDescription" file="*-Info.plist" mode="merge">
    <string>To scan barcodes</string>
</edit-config>
Plugin Details –
https://ionicframework.com/docs/native/barcode-scanner